First Steps into AR
Account Activation
After you create your account, you should see the following screen:
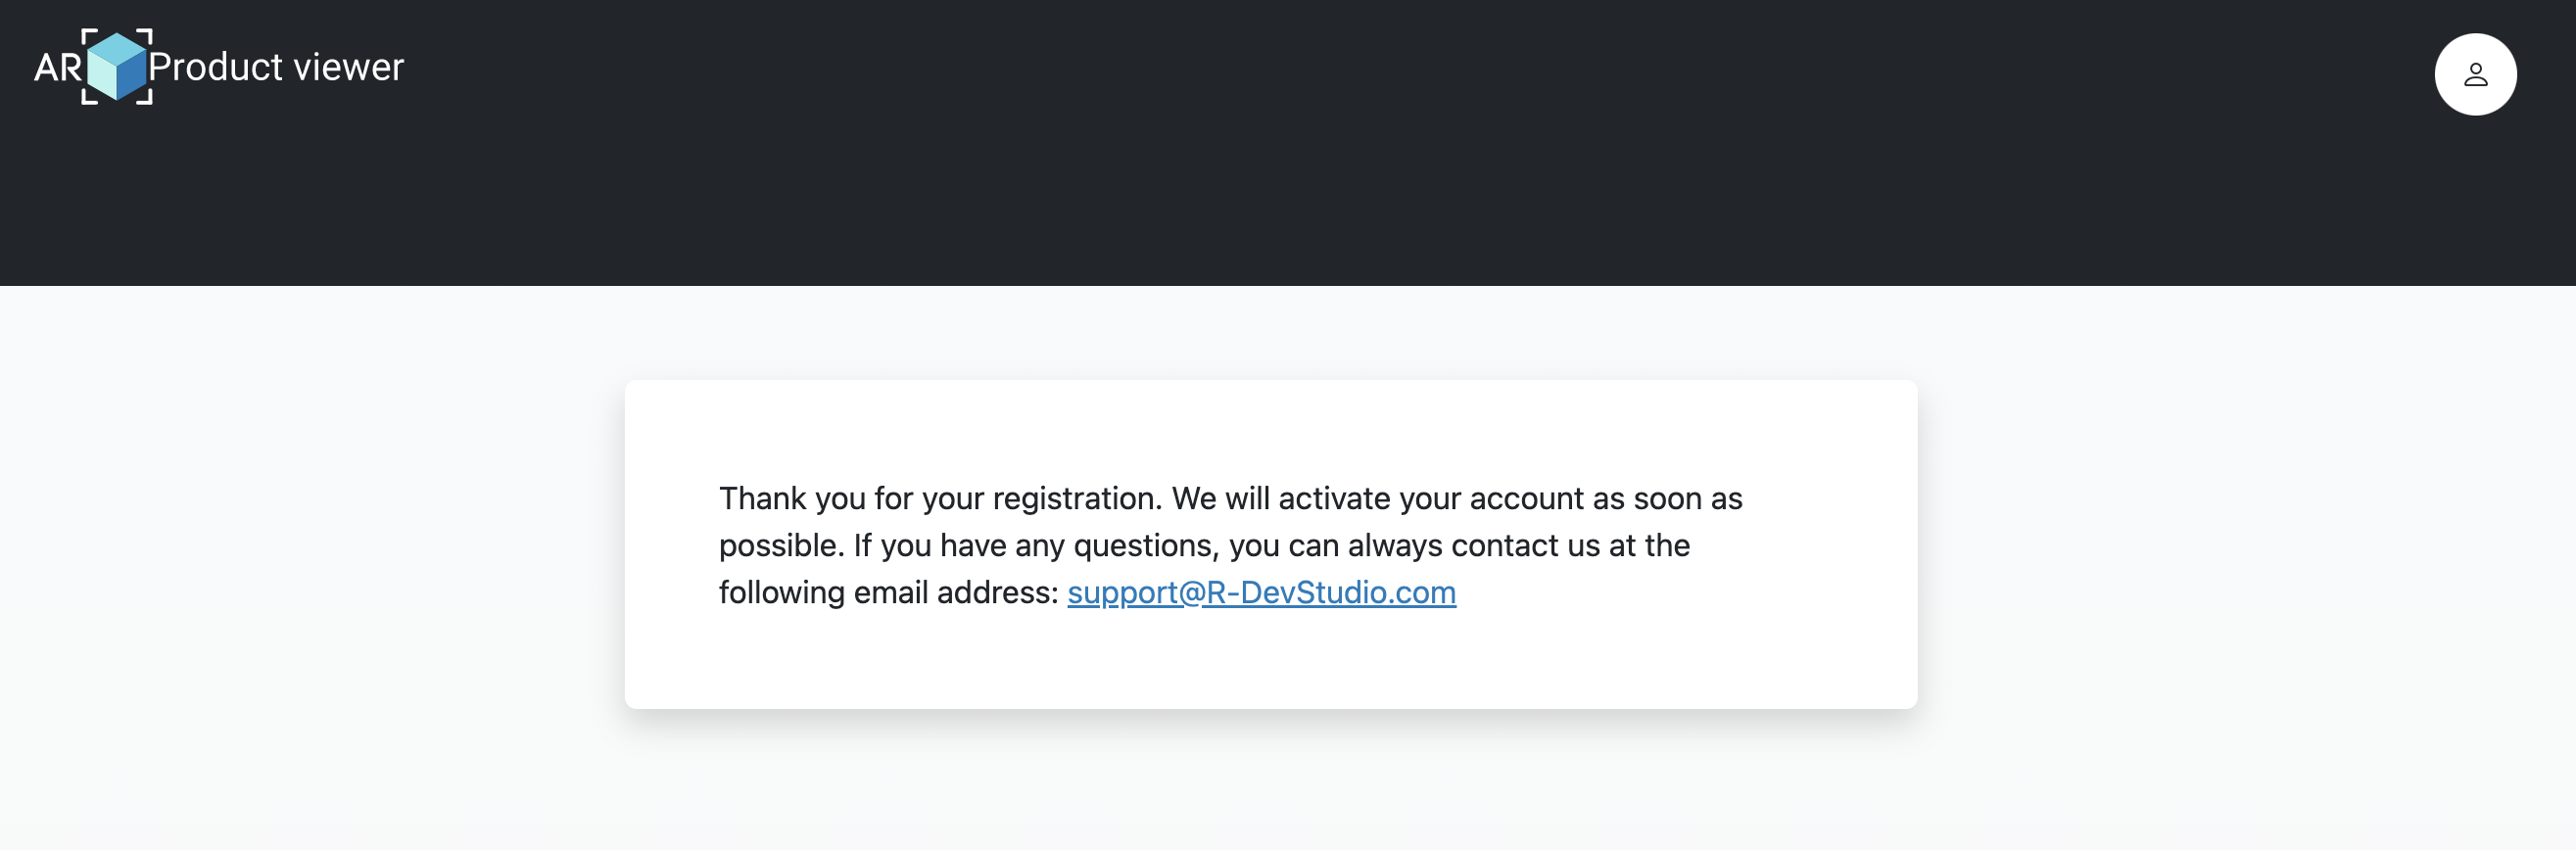
You will receive an email confirming that your account has been activated.
If you still see the same screen after receiving the confirmation email, please log out and log back in.
Now you will have access to your dashboard and all the features of AR-Product Viewer.
Default Settings
The Default Settings screen is used to add languages and set all the default texts for each language. These settings will be applied to every model you upload by default. You can modify these settings for each product in the Model Manager section.
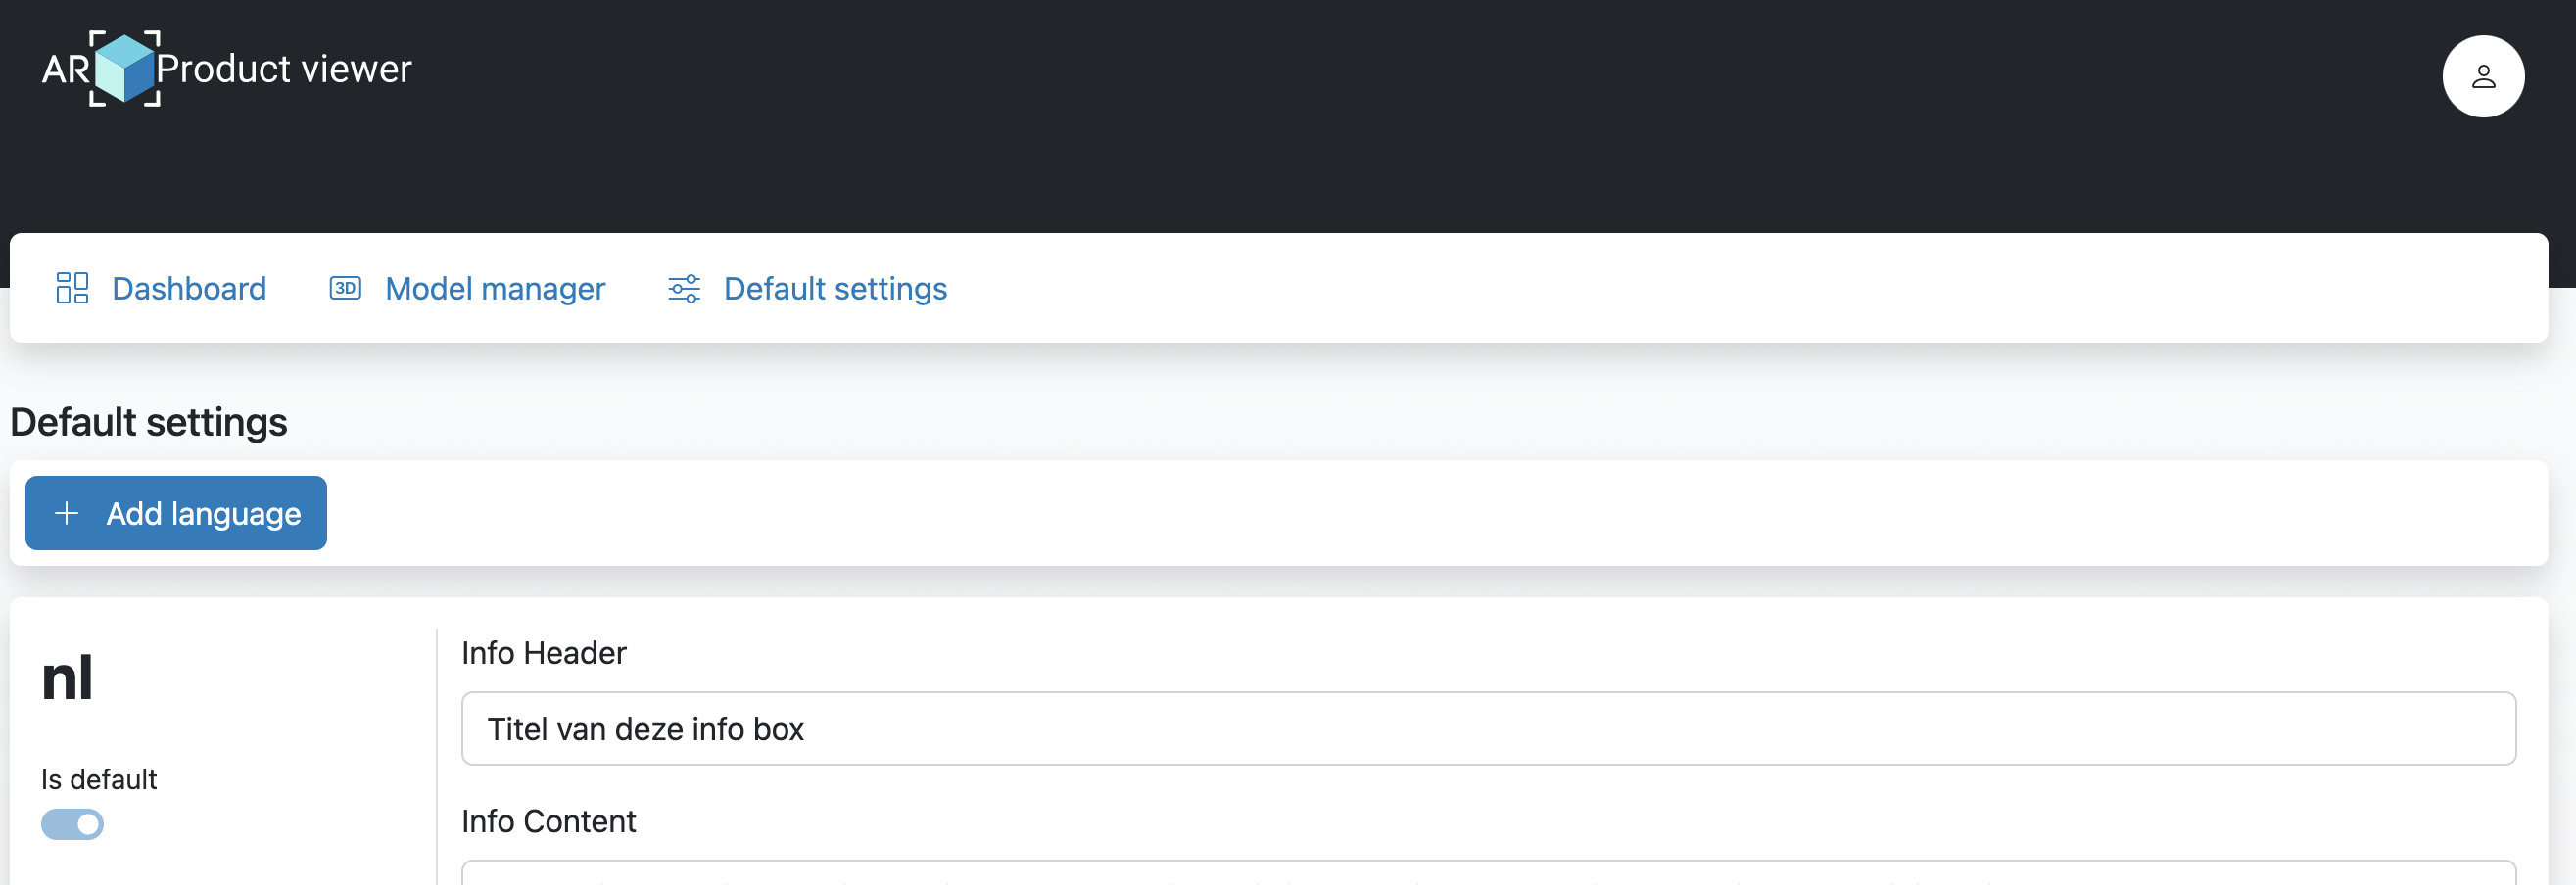
Adding a New Language
By default, AR Product Viewer has three languages available: English, Dutch, and French. If you need another language, simply press the "Add Language" button.
This will bring up the following screen:
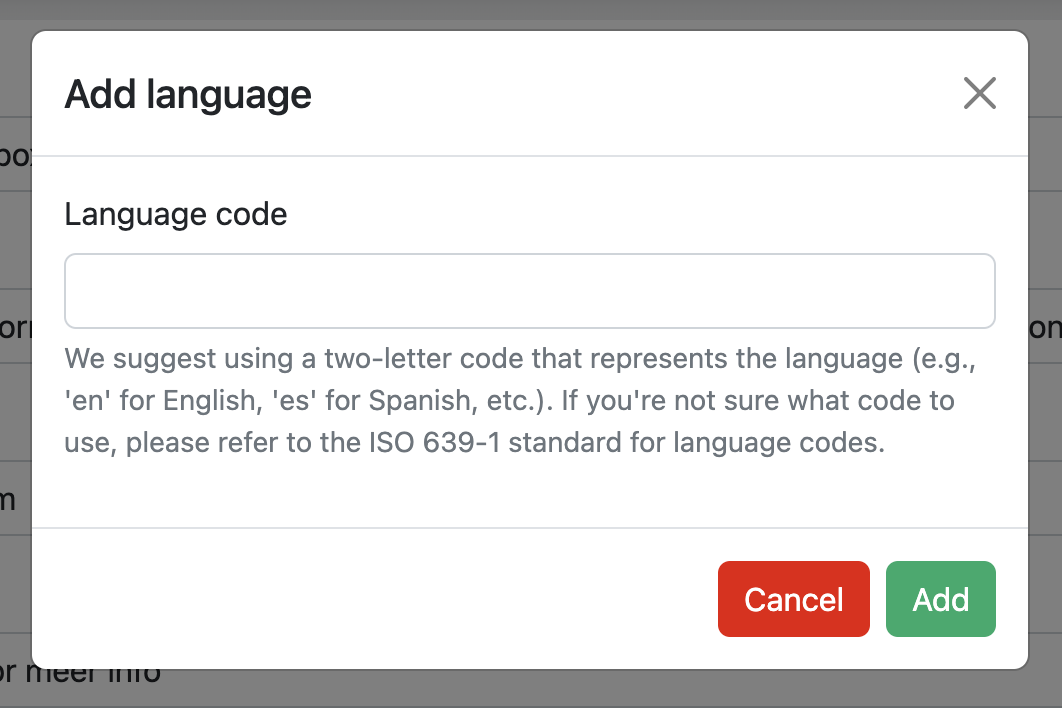
Enter the language code and press "Add."
The new language will have default values in English, which you can easily translate to your desired language.
Modifying the Default Language
If you want to change the default language, simply click on the slider next to "Is default" and then press the "Save" button.
TIP
To view your products in a specific language, you need to append the language code behind the unique URL of your product:
https://basic.ar-productviewer.com/<Project>/<Model>/<languagecode>
If no language code is added to the URL, the default language will be used.
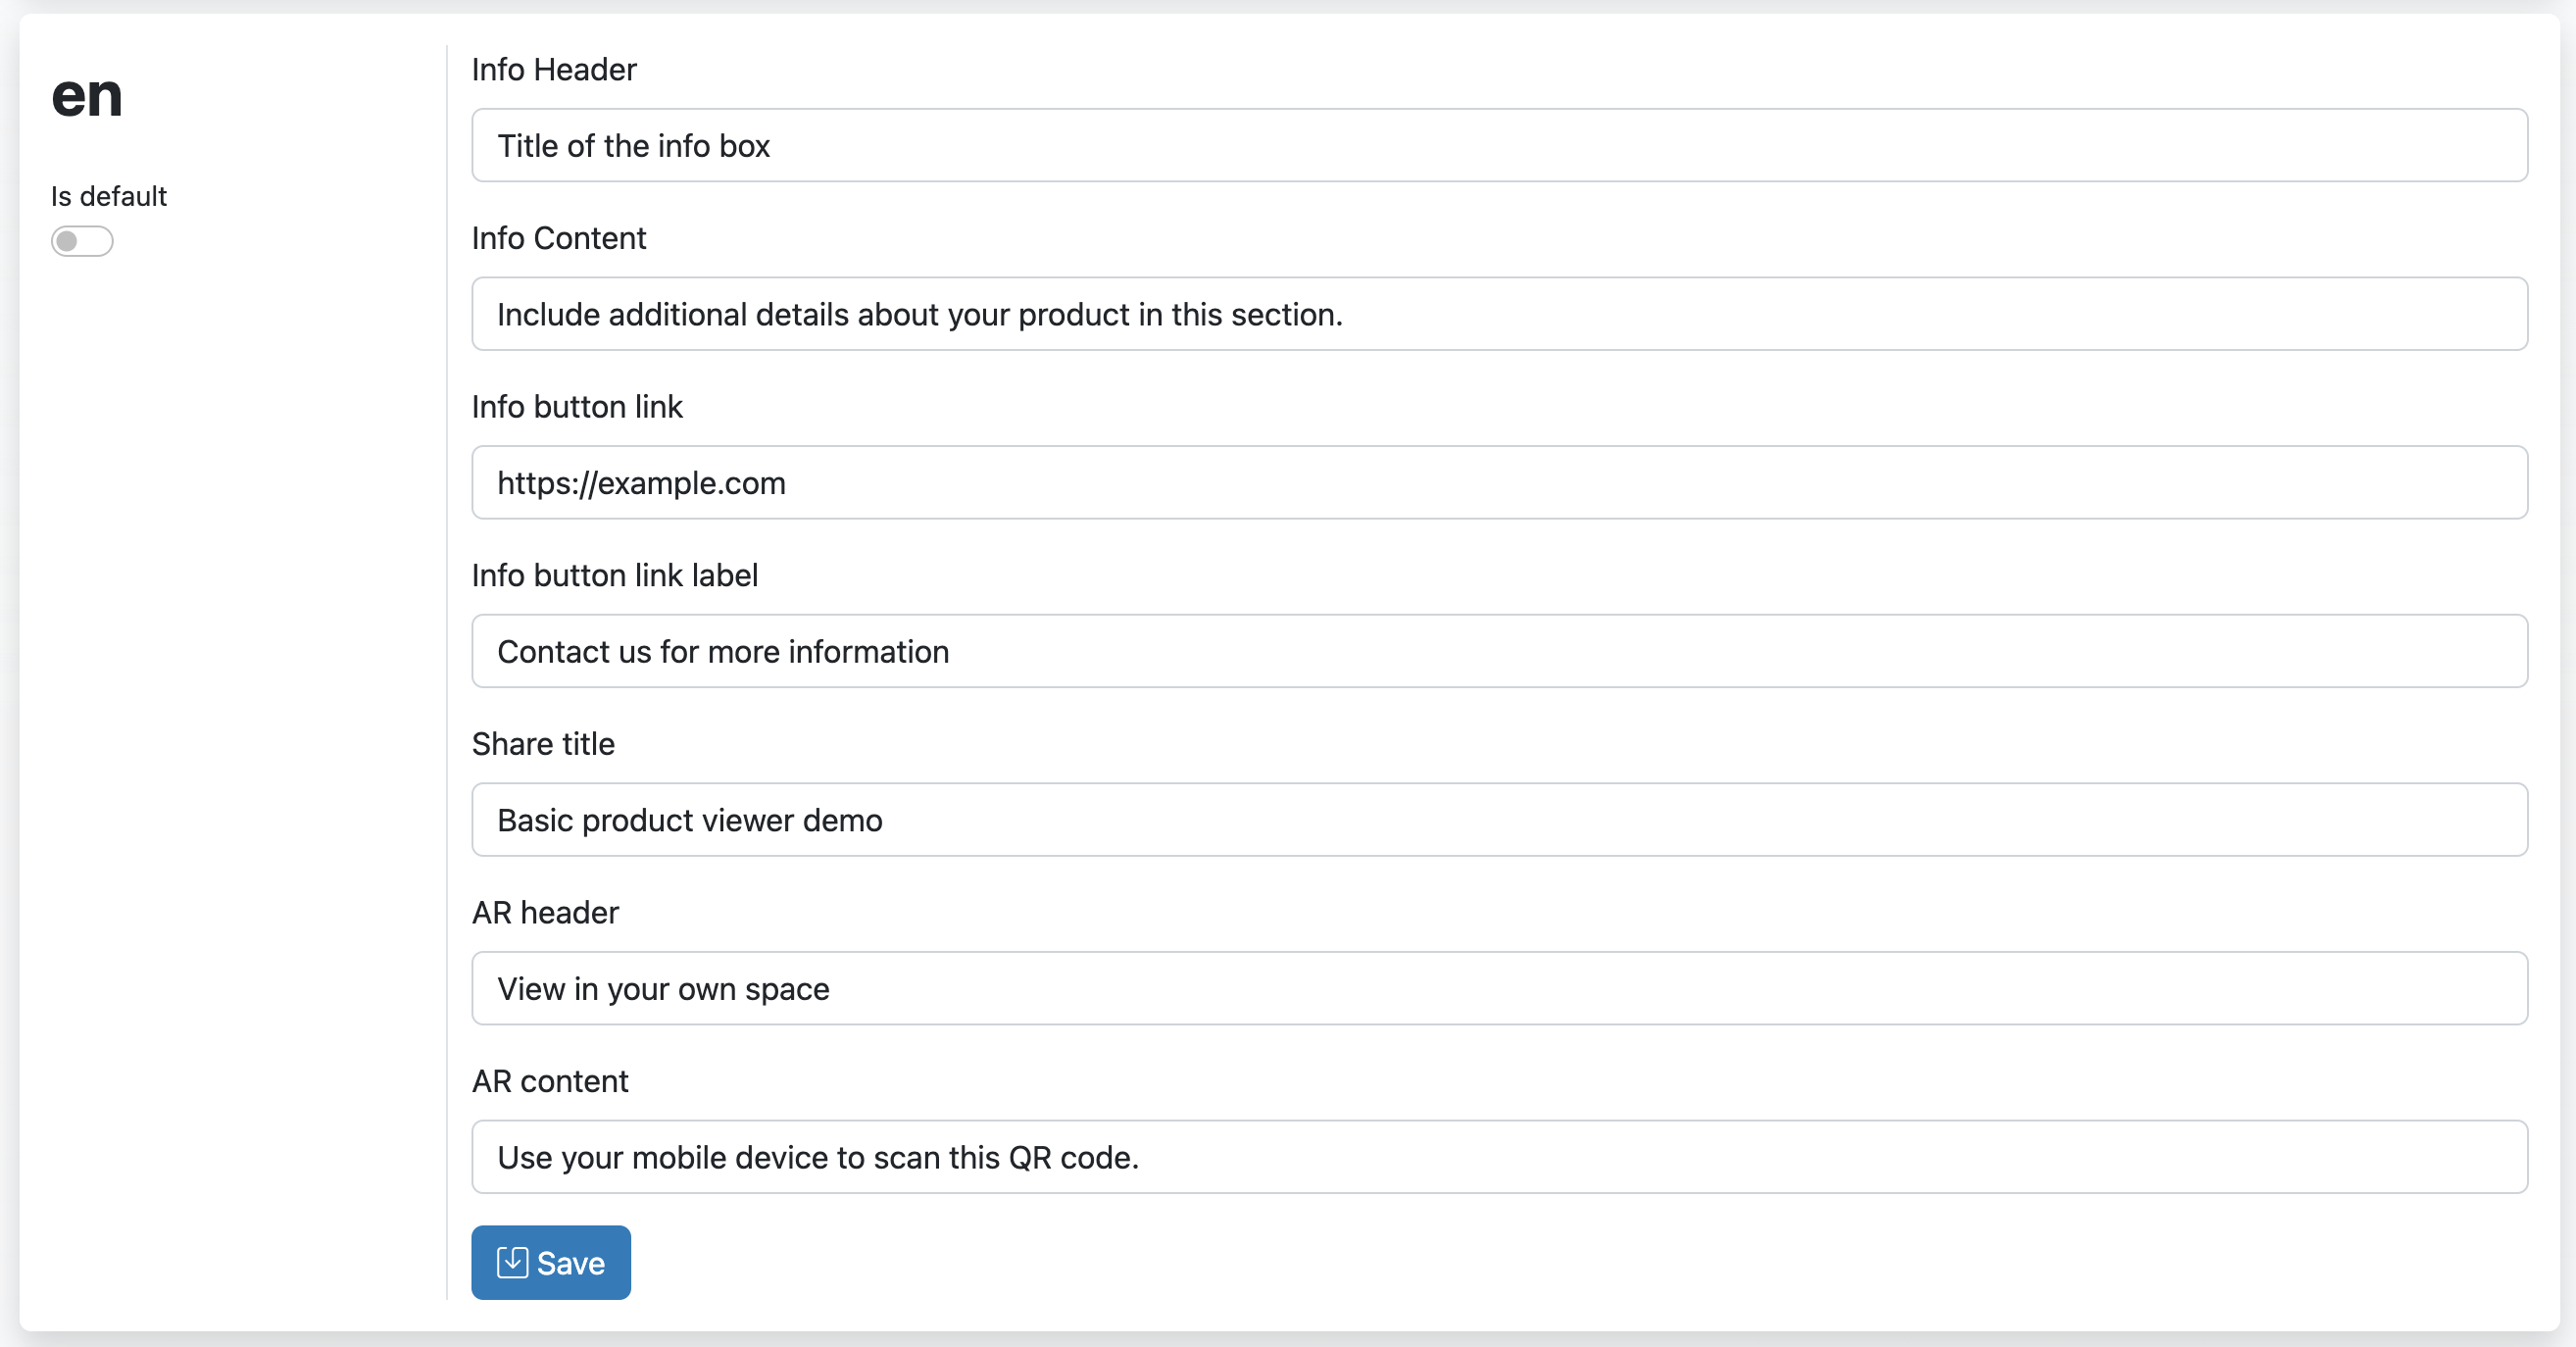
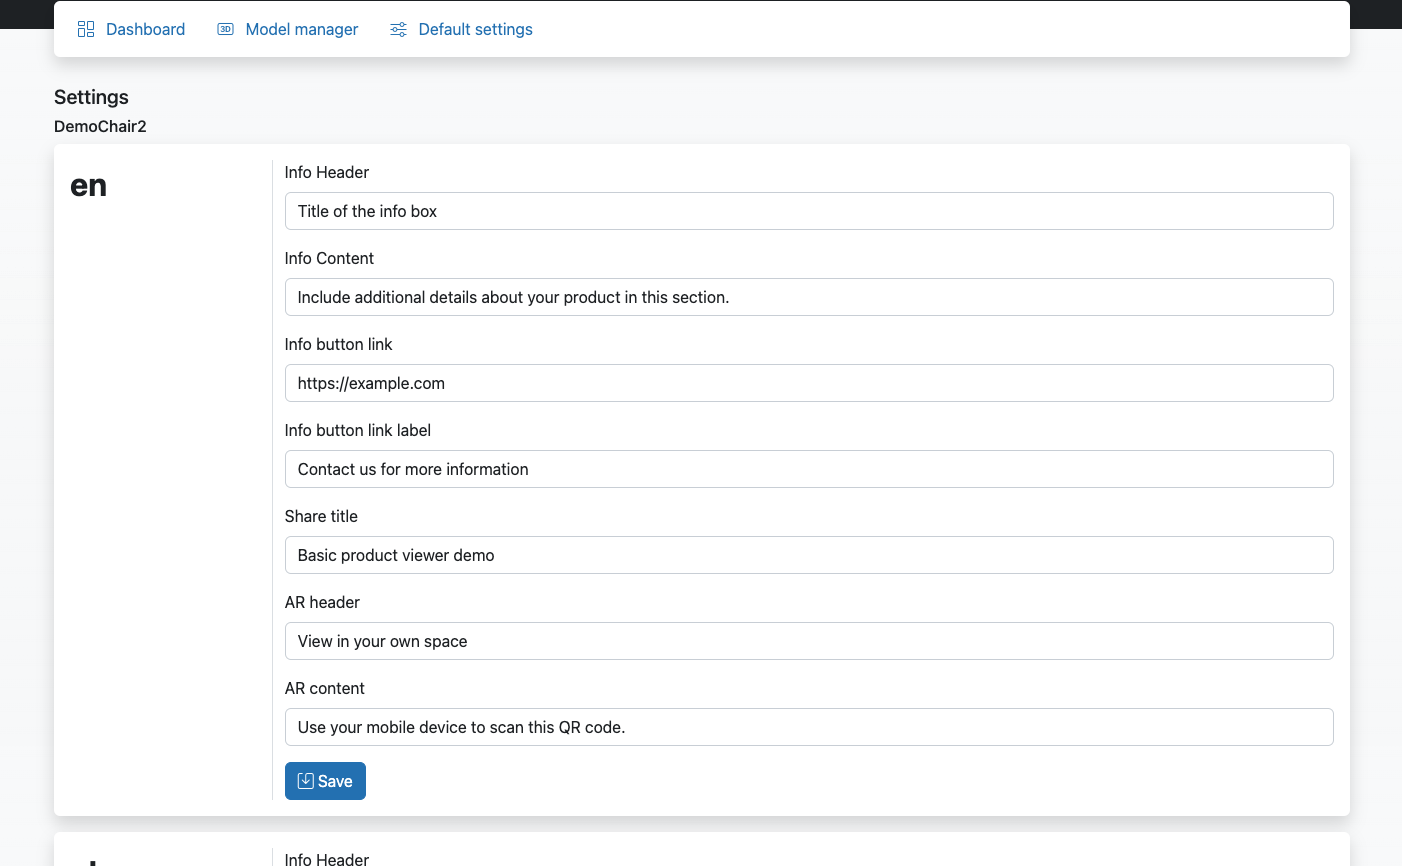
Modifying Default Settings
Each language is presented to you as a block with a form in it. You can simply modify the contents of the form and press the "Save" button.
TIP
The following settings can be modified in each language:
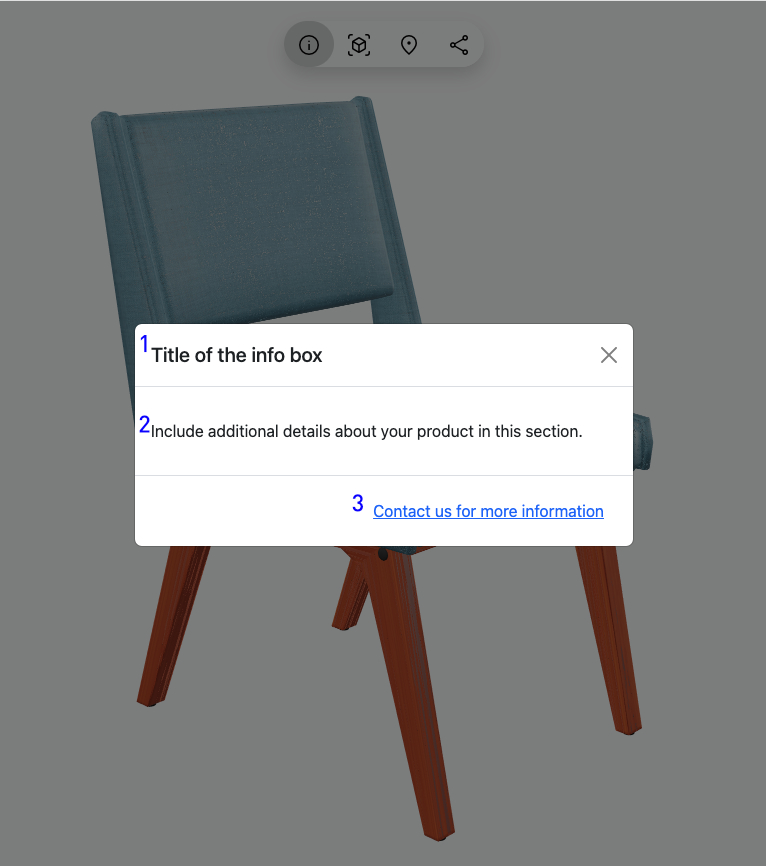
- Info header
- Info content
- Info button link and Info button link label
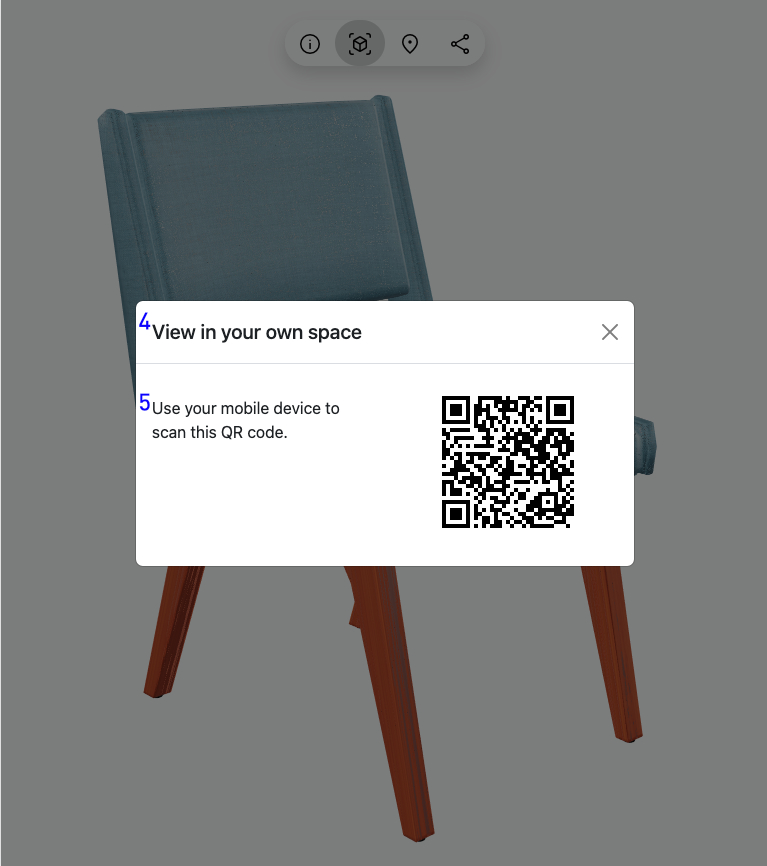
- AR header
- AR content
- Share title: This is the default text that will be sent when you press the share button to share the product with someone.
Model Manager
The Model Manager section allows you to upload models, modify their settings, and add hotspots to your models.
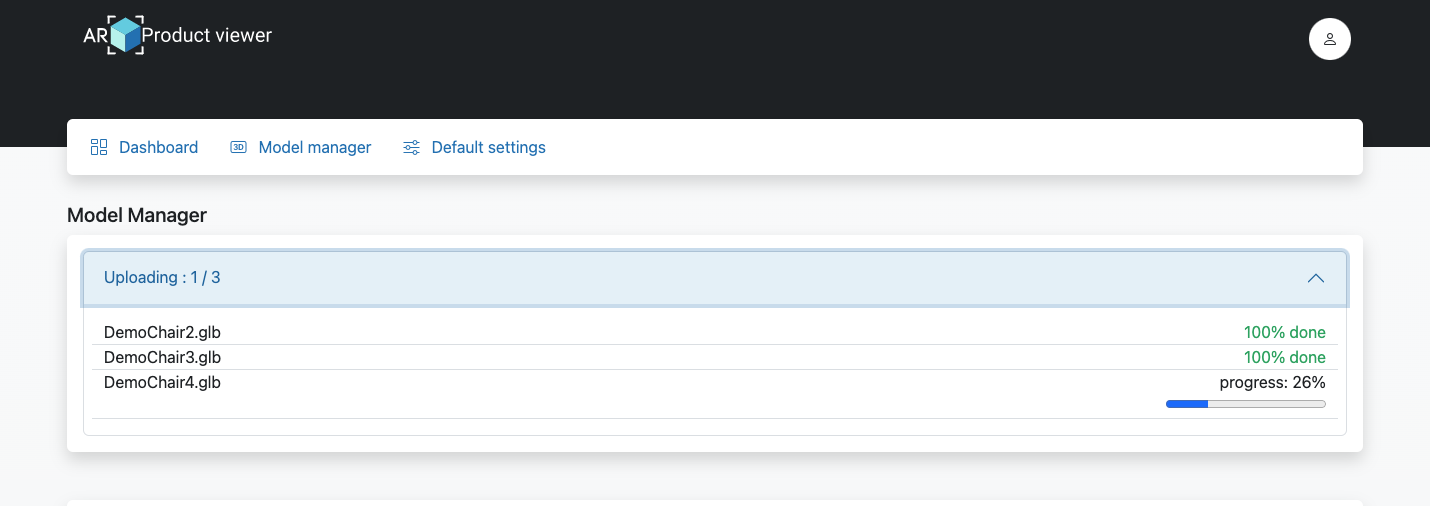
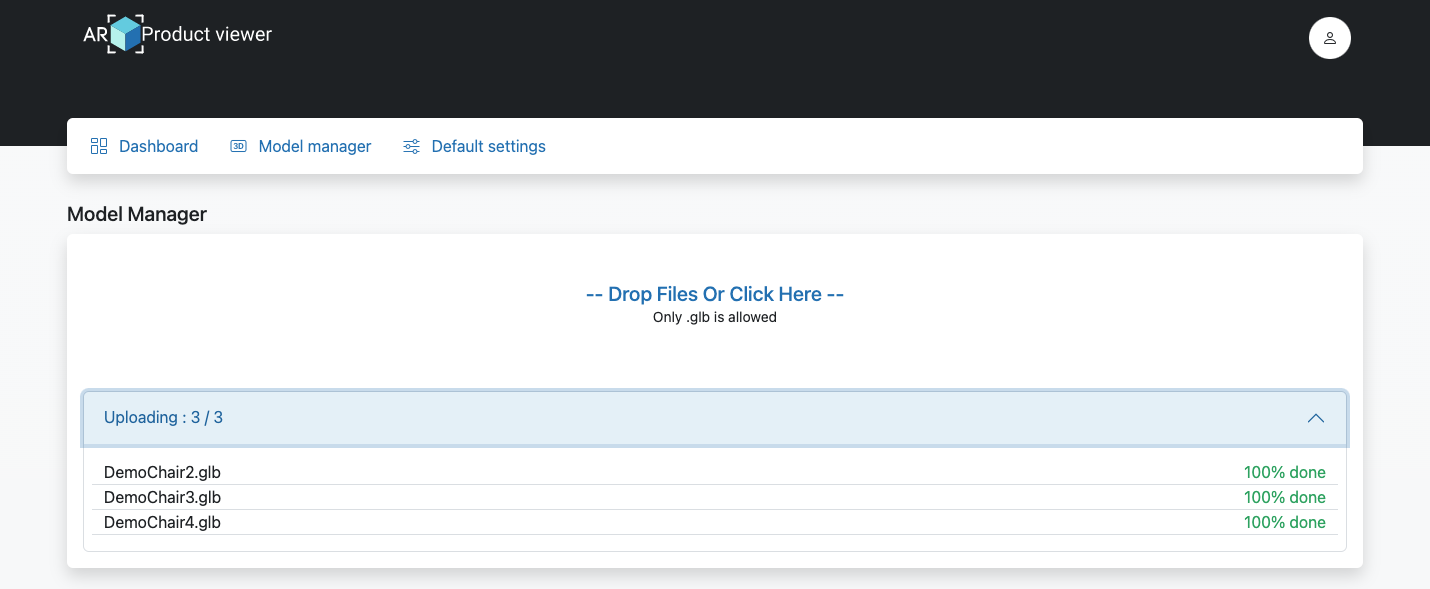
Uploading Models
To upload a model, simply drag and drop the .glb file into the upload block or click the upload block and select your file.
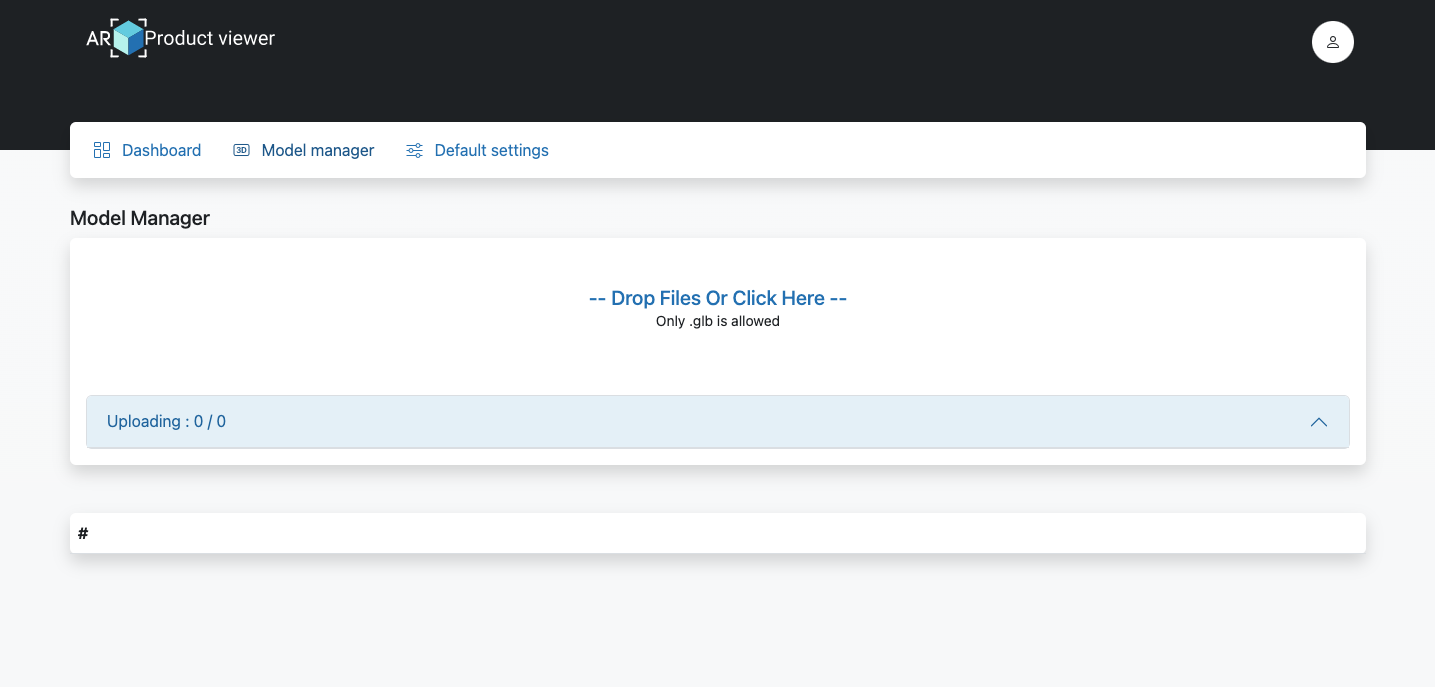
Expand the info box to track the progress of the upload and to confirm that all models have been uploaded successfully.
Managing Models
Once you've uploaded your models, you'll see a list of all your models. Each model has three action buttons and a slider to deactivate the model.
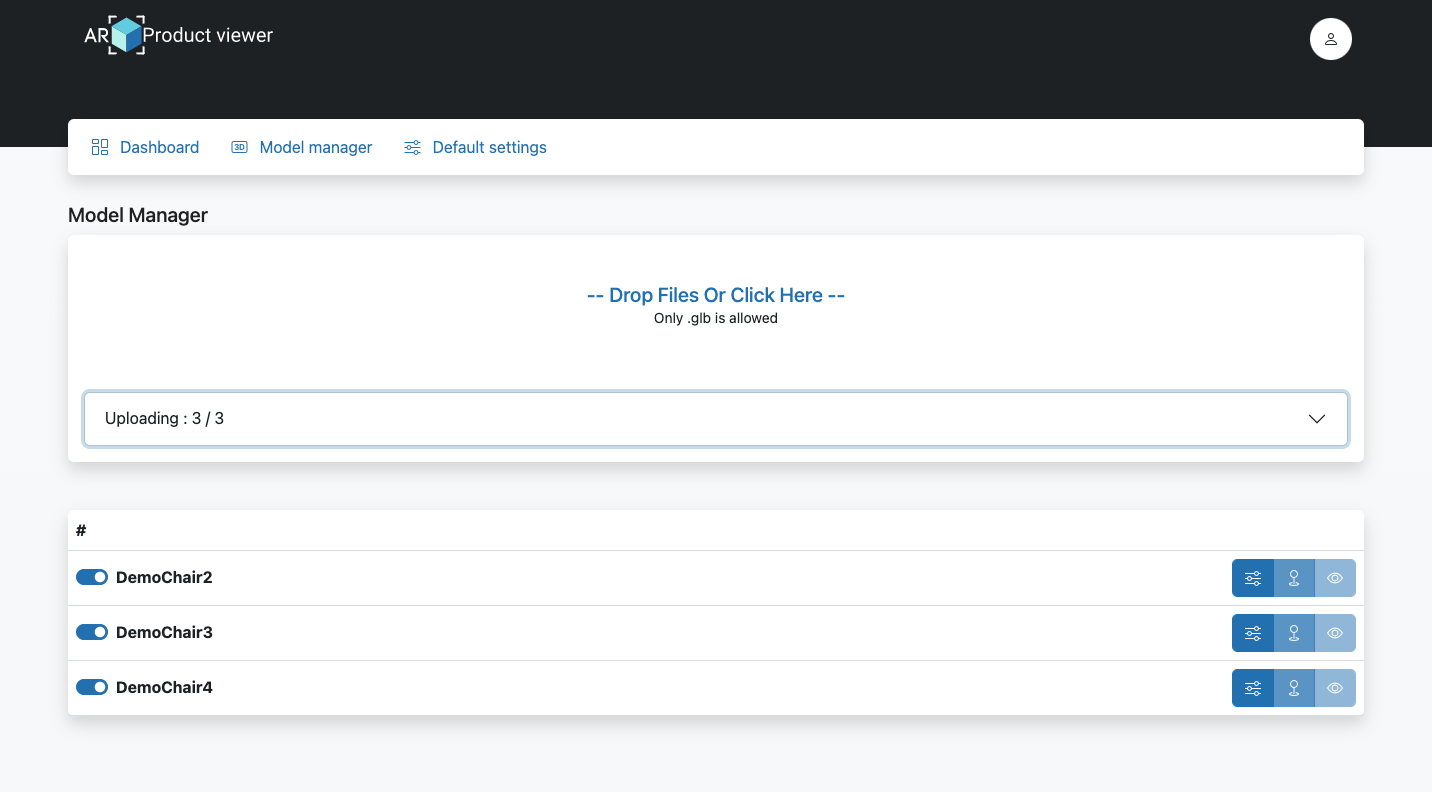
| Button | Action |
|---|---|
 | This button will open the model-specific settings. |
 | This button will open the hotspot editor for this model. |
 | This button will preview the model in the viewer. |
Model Settings
In the Model Manager section, you can modify the settings for each of your models. Each language is presented as a block with a form in it. Simply modify the contents of the form and press the "Save" button.
TIP
The following settings can be modified in each language:
- Info header
- Info content
- Info button link and Info button link label
- AR header
- AR content
- Share title: This is the default text that will be sent when you press the share button to share the product with someone.
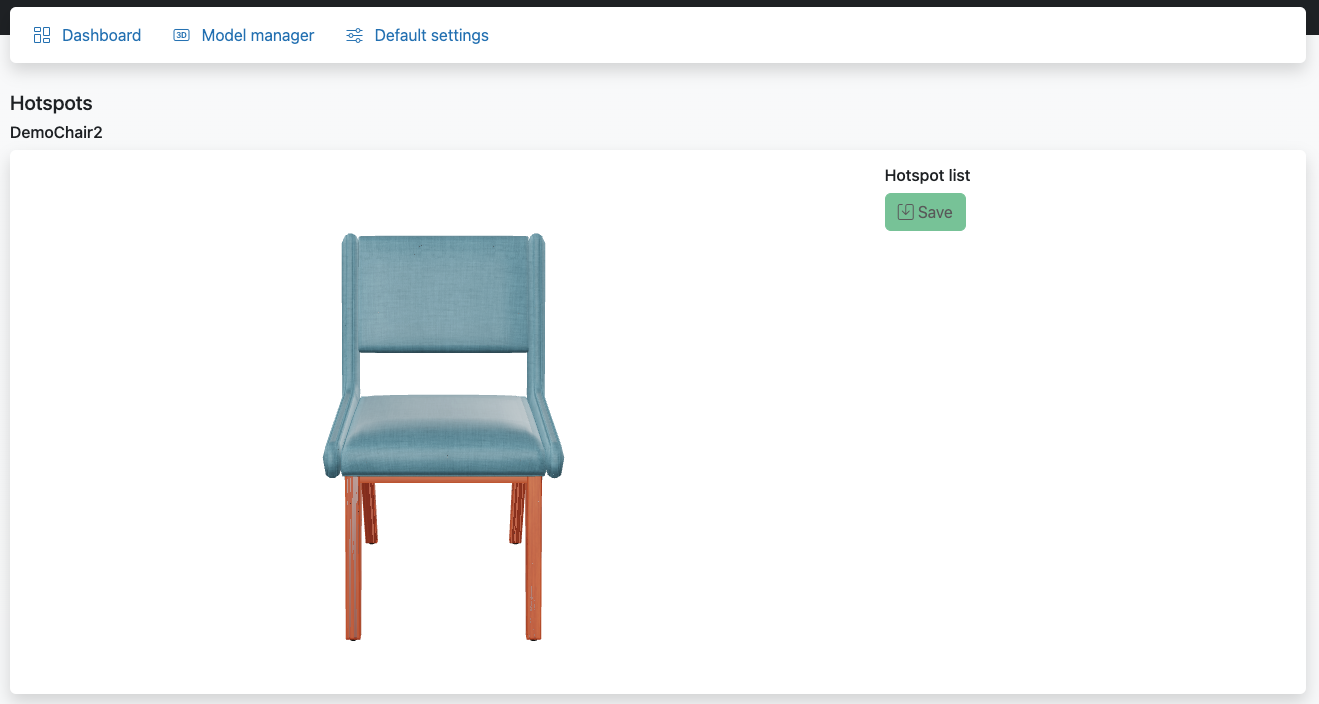
Configuring Hotspots
When you open the hotspot editor, you will see the model in 3D and can rotate it by holding down the mouse button and moving it around. By clicking on a desired spot on your model, you create a hotspot that will appear on the model and in the Hotspot list.
For each language, you can type in the unique feature, special material, or specific function of that part of the model.
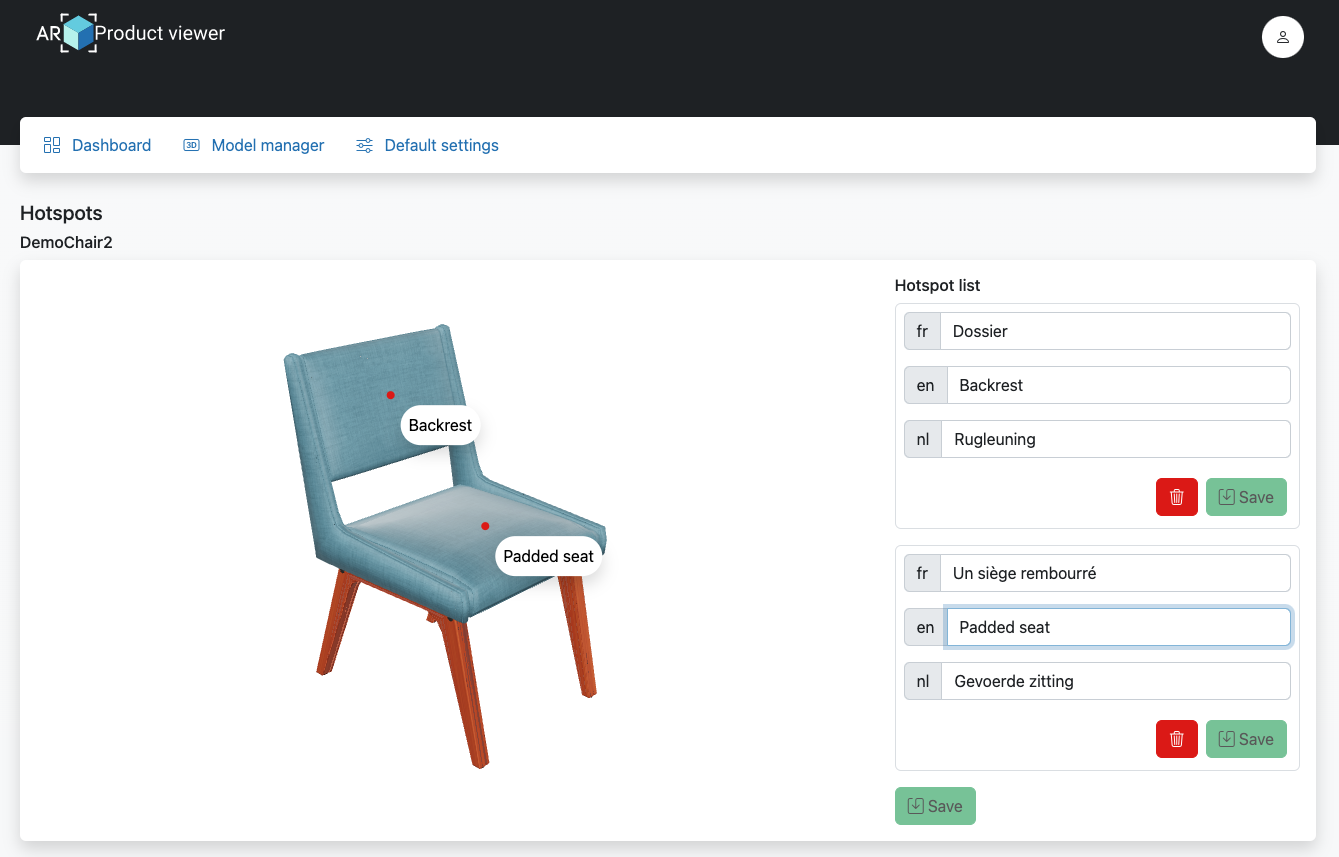
Don't forget to press "Save" to store your hotspots.
To delete hotspots, simply press the "Delete" button and then the "Save" button.
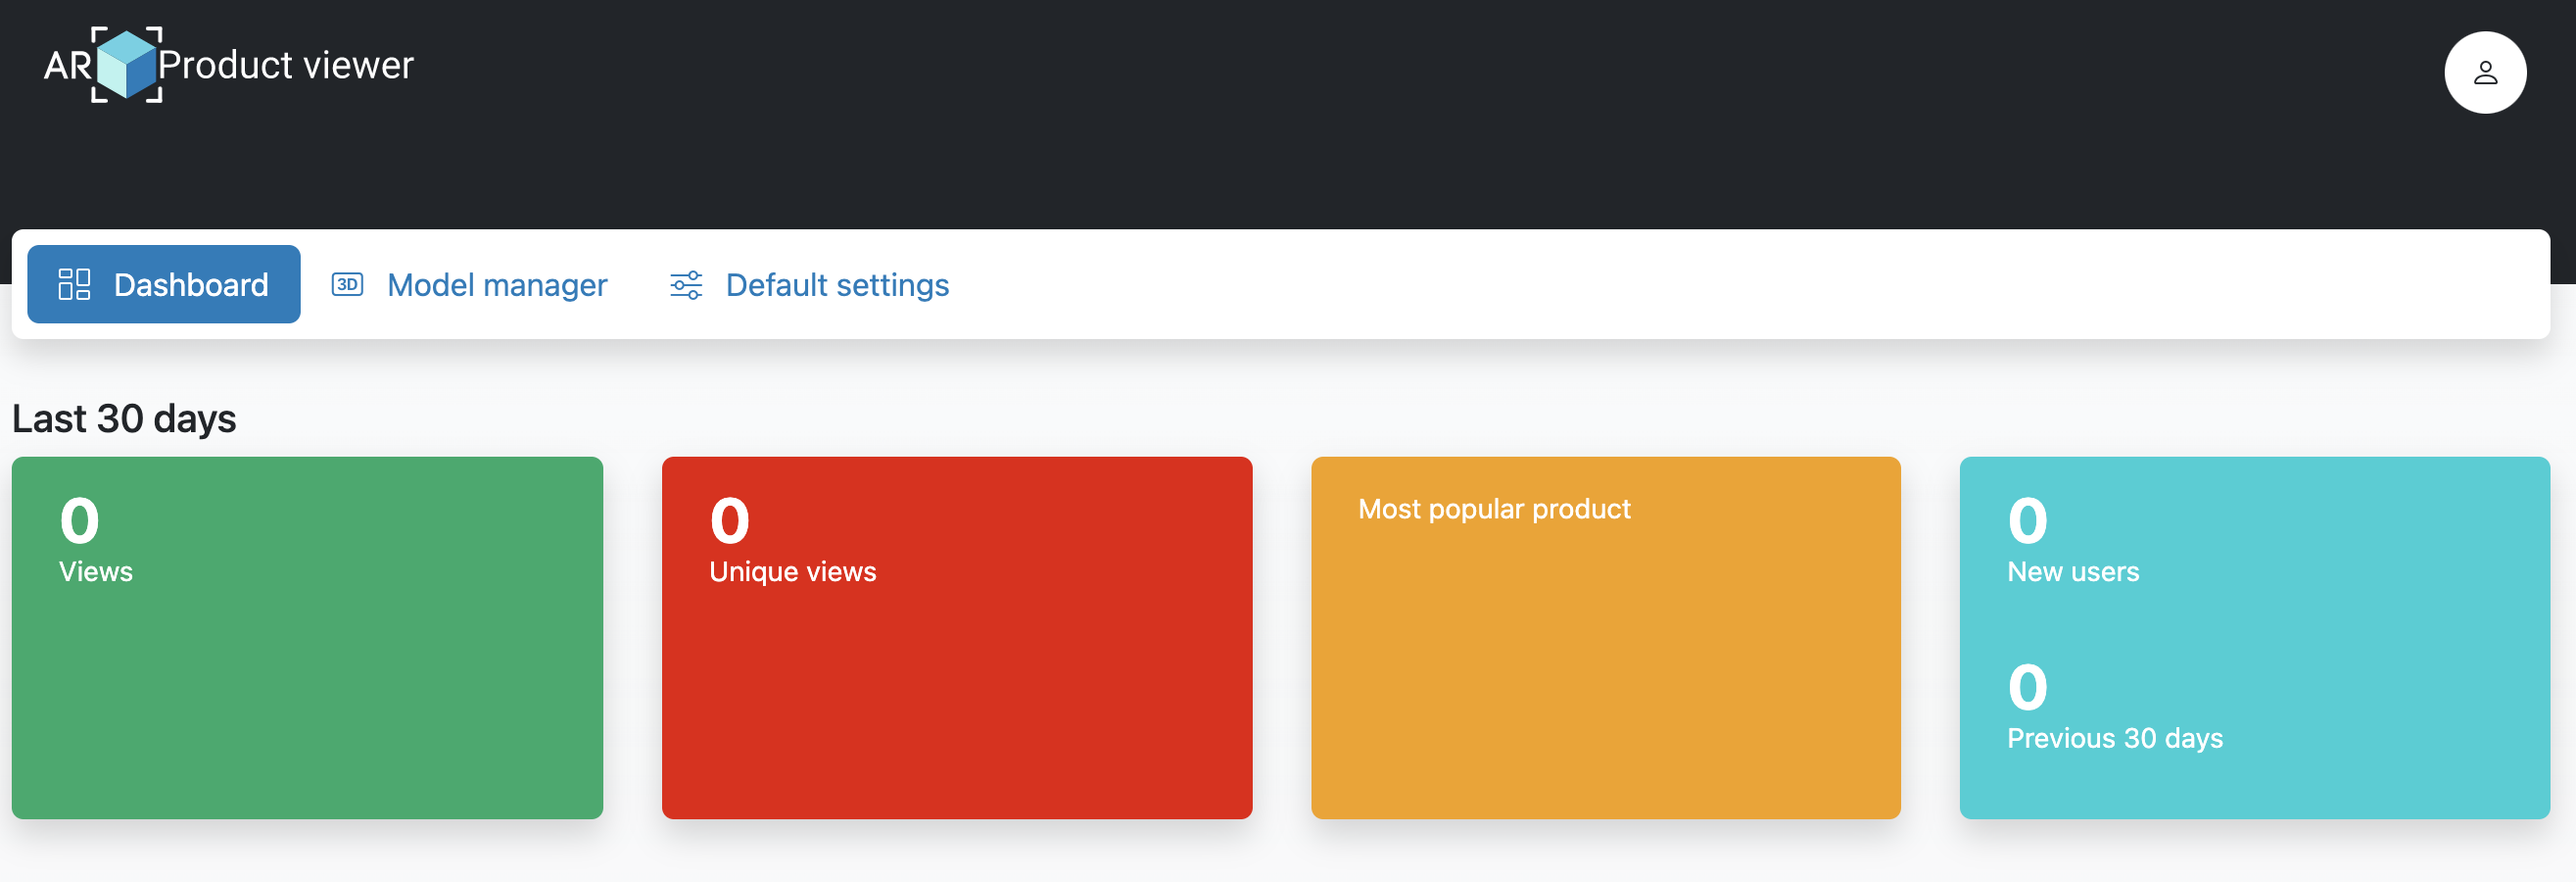
Dashboard
After you launch your products, the dashboard will be filled with visitor data.
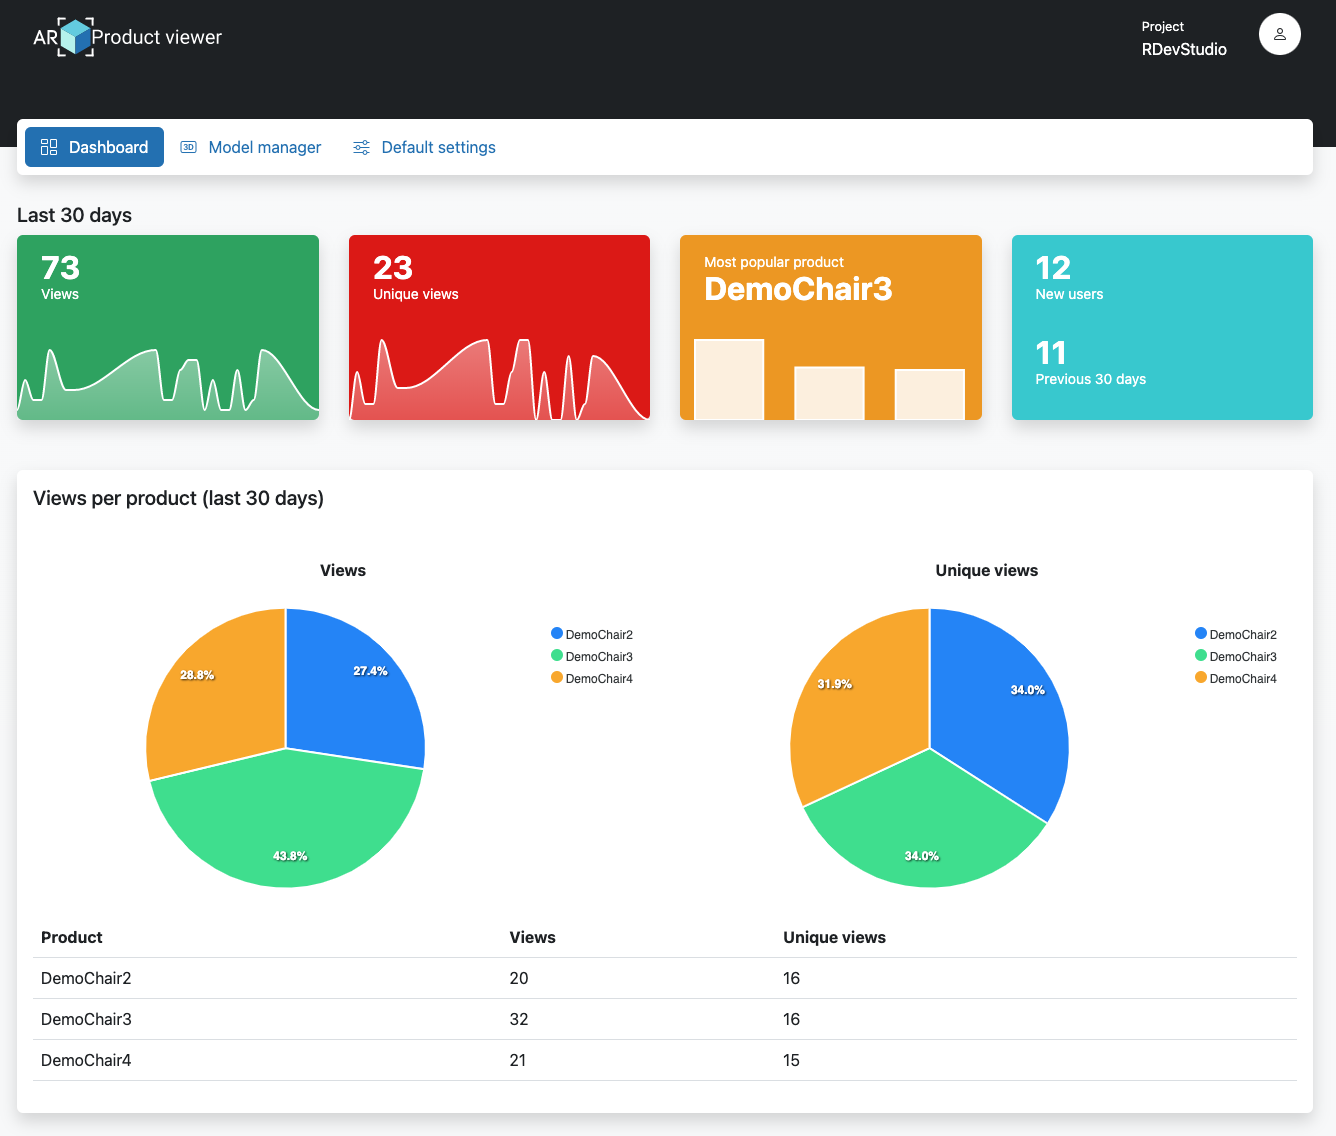
From left to right, the dashboard displays:
- How many visitors you've had in the last 30 days.
- How many of those visitors were unique.
- Your most viewed product.
- How many new visitors you've had. The difference between "unique" and "new" visitors is that "new" visitors did not visit your site before those 30 days. We compare this with new visitors in the previous 30 days.
- The final graph shows you visitor and unique visitor information per product in pie charts and a table.
Integration
The basic viewer uses a unique URL for each model. This URL contains a few parts to define which model to load and in what language:
https://basic.ar-productviewer.com/<Project>/<model>/<(optional) language code>
| Element | Value | Screenshot |
|---|---|---|
| Project | You can find the project name in the top right corner of your portal | 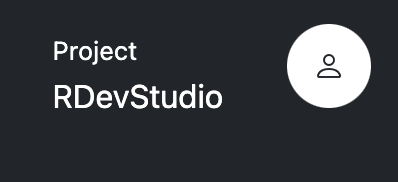 |
| Model | Each model has a unique name without spaces | 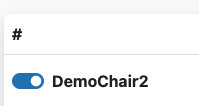 |
| (optional) Language code | The language code (e.g. nl, en, fr, ...). When left empty, the default language will be used. |
Embedding the Viewer into Your Website
WARNING
This part is a bit more technical. If you did not build your website, you can refer your web designer to this part of the documentation.
You can embed the viewer into your website using an iframe element.
Example
<iframe src="your unique url" width="100%" height="100%"></iframe>
In this case, we set the width and height of the iframe to 100%. It will adjust its width based on the parent container in your website.
Third-Party Integration
For CMS systems like Wix, WordPress, and WooCommerce, you can check their documentation on how to add custom code to a webpage.
For WooCommerce, we advise using a custom field for your products and adding the unique URL into it. Then, change the template to render that field in an iframe.